Recognizing and rewarding stream regulars on Twitch
You can add anyone in your Twitch community as a Moobot regular and then honor them with exclusive features, additional votes, lenient moderation, and more.
Follow these steps to add a Moobot regular:
- Open up the
«User management»menu from the main menu, then open the«Regulars»menu from there.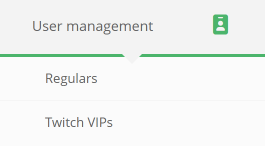
- Find the
«Add a regular...»input at the bottom of the menu, type in the viewer's username on Twitch, and then either select the user or press the ENTER key.

- The
«Current regulars»list should now display the viewer as a regular.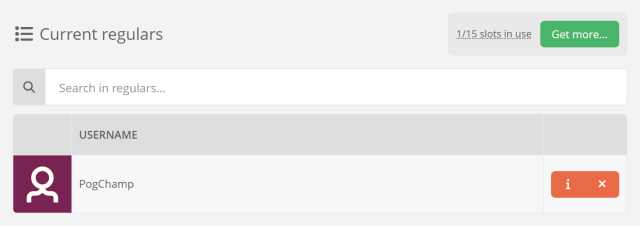
Excluding Moobot regulars from your auto moderation
Your Moobot regulars can be excluded from your Moobot's auto moderation, allowing them to post content that would otherwise be blocked for your other community members.
Whitelisting your regulars for certain message filtering
By adjusting the exclusion settings for your message filters, you can allow your regulars to completely bypass specific message filters.
Follow these steps to whitelist your regulars for a specific message filter:
- Open up the
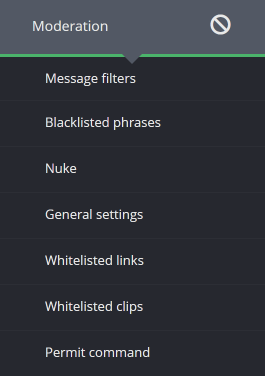
«Moderation»menu from the main menu, then open the«Message filters»menu from there.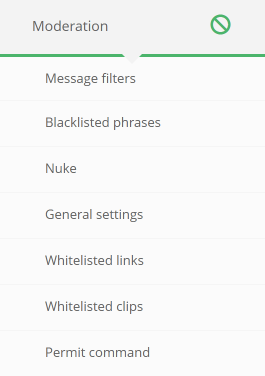
- Find the message filter you want to adjust and click the
«Settings»button.
- Activate the
«Exclude Moobot regulars»checkbox in the«Whitelist»section of the settings menu.

- Save your changes.
Your Moobot regulars will now be excluded from the specific message filter you adjusted, while other community members will still be affected by the message filtering.
Letting your regulars post pre-approved trusted content in Twitch chat
Your auto moderation whitelists can be set to only affect your regulars, allowing them to post trusted content to your Twitch chat.
Follow these steps to adjust who can post your pre-approved content in Twitch chat:
- Set up who will be pre-approved for your trusted links:
- Open up the
«Moderation»menu from the main menu, then open the«Whitelisted links»menu from there. - Select
«Moobot regulars»in the«Users who can post whitelisted links»dropdown, and remove the«Normal users»selection if you do not want everyone to be able to post your whitelisted links.

- Open up the
- Set up who will be pre-approved for clips from trusted Twitch channels:
- Open up the
«Moderation»menu from the main menu, then open the«Whitelisted clips»menu from there. - Select
«Moobot regulars»in the«Users who can post whitelisted clips»dropdown, and again remove the«Normal users»selection.
- Open up the
Your Moobot regulars, together with any other user groups you selected, can now post your pre-approved content to your Twitch chat.
Letting your regulars bypass blocked words, phrases and behavior in Twitch chat
Your Moobot's auto moderation blacklists can be set to exclude your regulars, allowing them to bypass certain blocked words, phrases, and behavior in your Twitch chat.
Follow these steps to whitelist your regulars for certain blacklisted phrases:
- Whitelist Moobot regulars in your blacklist:
- Open up the
«Moderation»menu from the main menu, then open the«Blacklisted phrases»menu from there. - Open the edit menu for a blacklisted phrase by clicking its edit button.
- Select
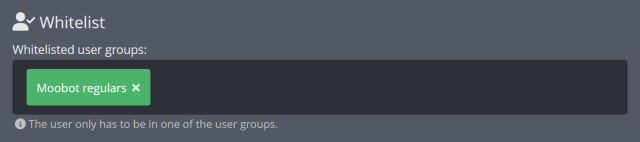
«Moobot regulars»from the dropdown in the«Whitelist»section of the settings menu.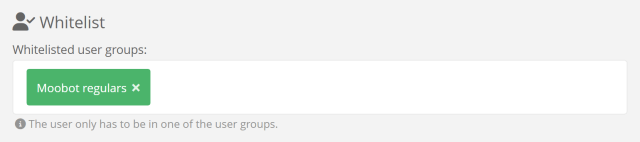
- Save your changes.
- Repeat the steps for every blacklisted phrase you want your regulars to bypass.
- Open up the
Your Moobot regulars will now be excluded from the specific blacklisted phrases you adjusted, while your other community members will still be affected.
Giving your regulars additional chances to win your giveaways
Your Moobot regulars can be given additional chances to win your giveaways.
Follow these steps to give your regulars additional chances to win your giveaways:
- Open up the
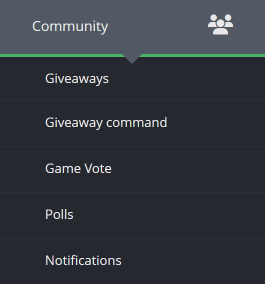
«Community»menu from the main menu, then open the«Giveaways»menu from there.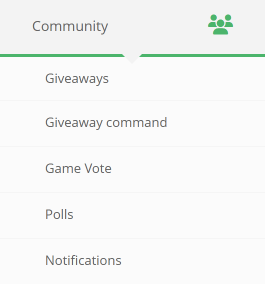
- Click the
«Create giveaway»button at the bottom of the menu. - While adjusting the settings of the giveaway, drag the
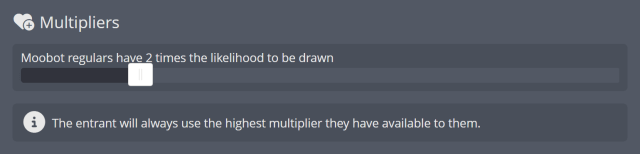
«Moobot regulars»slider until it says«Moobot regulars have 2 times the likelihood to be drawn».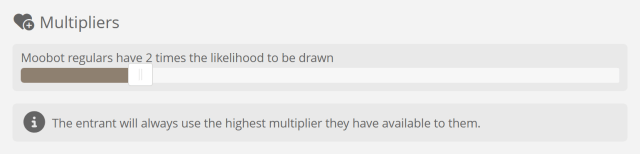
- Create the giveaway.
Your regulars will now have 2 chances to win the giveaway, while everyone else will only have one chance.
Restricting your giveaways to your regulars
Your giveaways can be set to only accept entries from your Moobot regulars, allowing you to reward your regulars with exclusive giveaways.
Follow these steps to restrict your giveaways to your regulars:
- Open up the
«Community»menu from the main menu, then open the«Giveaways»menu from there. - Click the
«Create giveaway»button at the bottom of the menu. - While adjusting the settings of the giveaway, activate its advanced options.
- Activate the
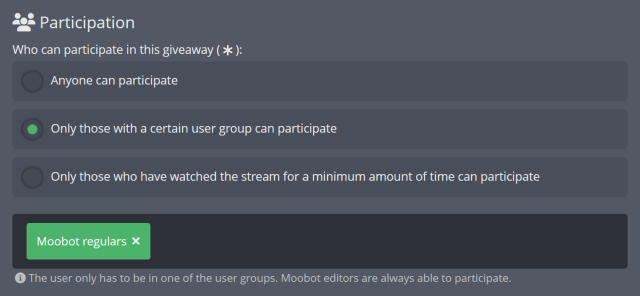
«Only the selected user groups can participate»checkbox in the«Participation»section and select the«Moobot regulars»option in the«Select user groups»input.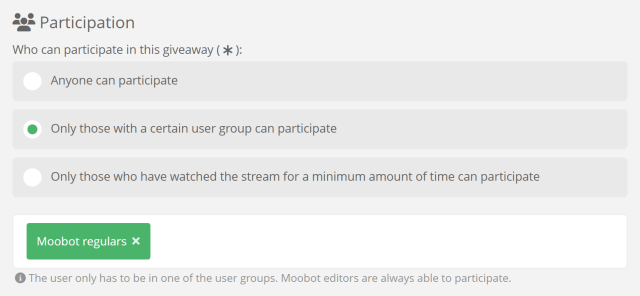
- Create the giveaway.
Your giveaway will now only accept entries from your Moobot regulars.
Giving your regulars additional votes in your polls
Your Moobot regulars can be given additional votes in your polls, allowing you to reward your regulars with more influence in your polls.
Follow these steps to give your regulars additional votes in your polls:
- Open up the
«Community»menu from the main menu, then open the«Polls»menu from there. - Click the
«Create poll»button at the bottom of the menu. - While adjusting the settings of the poll, drag the
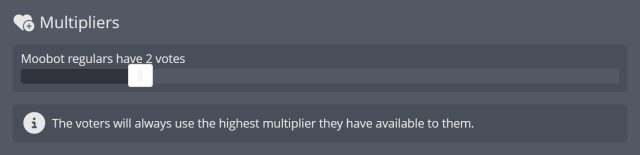
«Moobot regulars»slider in the«Multipliers»section until it says«Moobot regulars have 2 votes».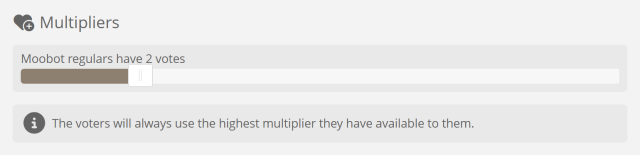
- Create the poll.
Your Moobot regulars will now have 2 votes, while everyone else will only have one.
Restricting your polls to your regulars
Your polls can be set to only accept votes from your Moobot regulars, allowing you to reward your regulars with exclusive polls.
Follow these steps to restrict your polls to your regulars:
- Open up the
«Community»menu from the main menu, then open the«Polls»menu from there. - Click the
«Create poll»button at the bottom of the menu. - While adjusting the settings of the poll, activate its advanced options.
- Activate the
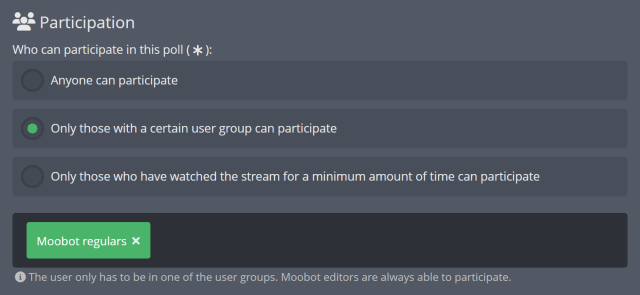
«Only the selected user groups can participate»checkbox in the«Participation»section and select the«Moobot regulars»option in the«Select user groups»input.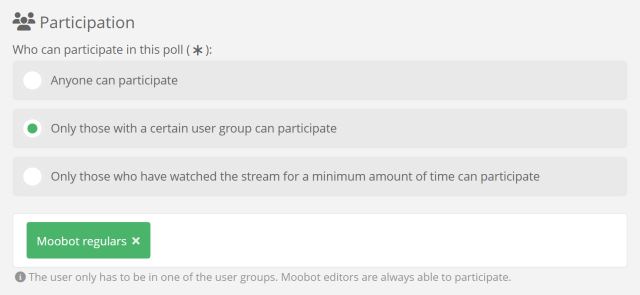
- Create the poll.
Your poll will now only accept votes from your Moobot regulars.
Allowing your regulars to request songs
Your Song Requests feature can be set to only accept requests from your Moobot regulars, allowing you to reward your regulars with exclusive song requests.
Follow these steps to restrict your song requests to your regulars:
- Open up the
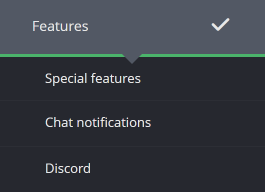
«Features»menu from the main menu, then open the«Special features»menu from there.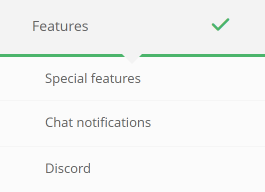
- Find the
«Song Requests»feature and click the«Settings»option in its«Options»menu. - Adjust the
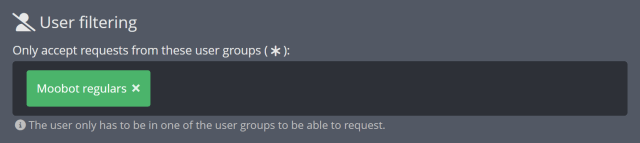
«Only accept requests from these user groups»input to only have«Moobot regulars»selected.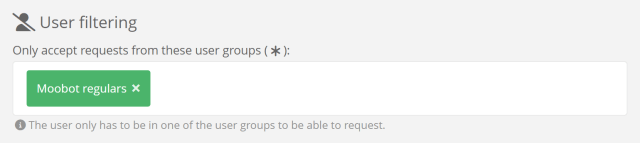
- Save your changes.
Your Moobot will now only accept song requests from your regulars.
Letting your regulars request more songs than others
By activating session restrictions for your Song Requests feature, you can limit the amount of song requests for your Twitch community members, while letting your regulars request more songs than others.
Follow these steps to let your regulars request more songs than others:
- Open up the
«Features»menu from the main menu, then open the«Special features»menu from there. - Find the
«Song Requests»feature and click the«Settings»option in its«Options»menu. - Activate the
«Session restriction»toggle to enable session restrictions.


- Select
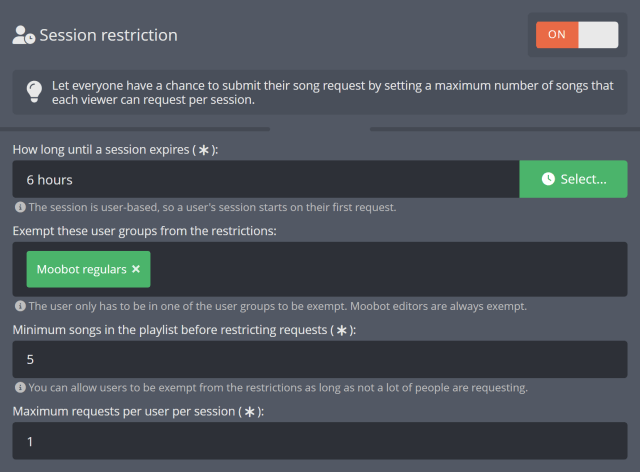
«Moobot regulars»in the«Exempt these user groups from the restrictions»input.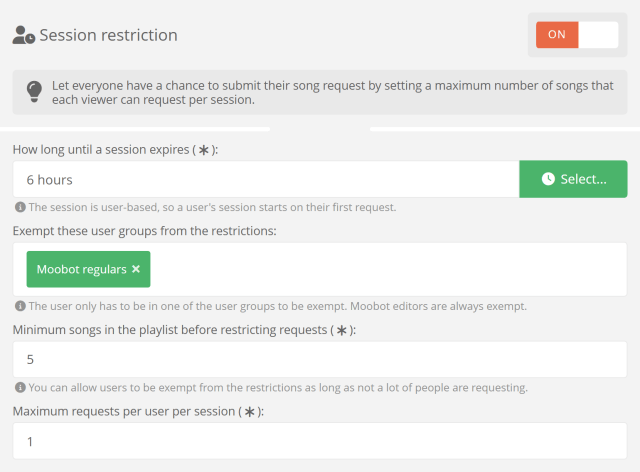
- (Optional) Further adjust the settings in the
«Session restriction»section to fit your needs. - Save your changes.
Your Moobot regulars will now have an unlimited number of requests during their session, while other community members will have a limited number of requests.
Restricting a chat command to your regulars
Your custom chat commands can be set to only be usable by your Moobot regulars, allowing you to reward your regulars with exclusive chat commands.
Follow these steps to restrict a chat command to your regulars:
- Open up the
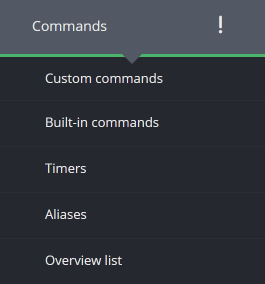
«Commands»menu from the main menu, then open the«Custom commands»menu from there.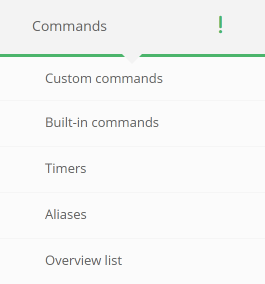
- Add a new chat command, or adjust one.
- While adjusting the settings of the chat command, activate its advanced options.
- Select
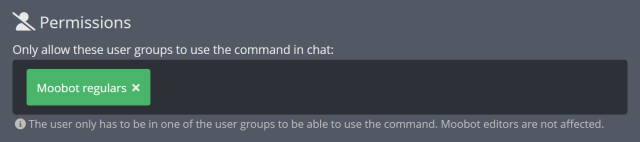
«Moobot regulars»in the«Only allow these user groups to use the command in chat»input.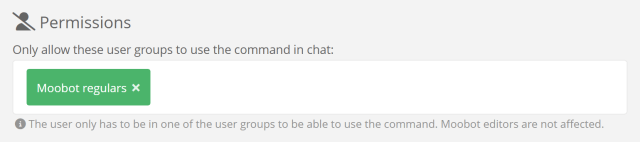
- Save your changes.
Only your regulars can now use the chat command.