Giving your Twitch mods access to your bot
You can give someone access to your Moobot by adding them as an editor. That way they can take care of your Moobot during your stream.
Anyone added as a Moobot editor may access, monitor and adjust your bot from your dashboard and Twitch chat.
Each editor is part of a permission group, which determines what they can view and adjust.
Giving your Twitch mods access
Follow these steps to add a Moobot editor:
- Open up the
«Permissions»menu from the main menu, then open the«Moobot editors»menu from there.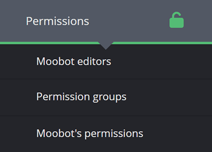
- Find the
«Add an editor...»input at the bottom of the menu, type in the username of who you want to add as a Moobot editor, and then either select the user or press the ENTER key.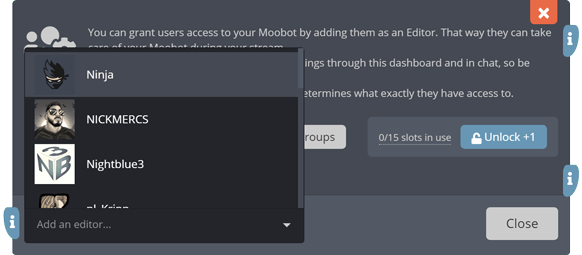
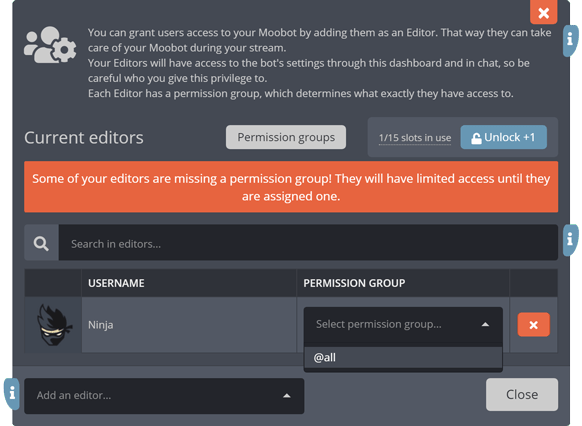
- Assign the user to a permission group if a prompt asks you to.
- Find the added user in the
«Current editors»list and make sure they have a permission group assigned to them. If not, assign one.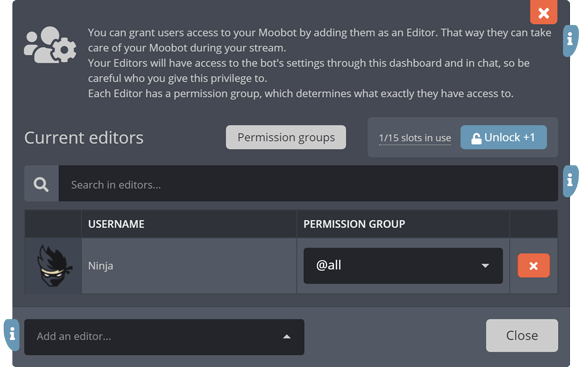
If you have activated the Community Loyalty feature, the menu will display the time passed since each of your editors were last seen in your Twitch chat. This can give you a quick overview of whether they're still active in your community.

Accessing a dashboard as an editor
Once someone adds you as an editor of their Moobot, you may navigate to and access their dashboard directly.
Follow these steps to access someone's dashboard:
- Sign in to your own Moobot dashboard.
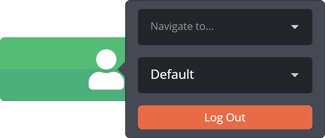
- Hover over the user widget on your dashboard to display its menu.
- (⁎) Focus the
«Navigate to...»input in the pop-up menu, then search and select the dashboard (Twitch username) you want to navigate to.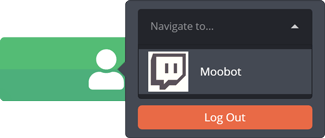
(⁎) If the drop-down menu does not list the dashboard, you may not have access to it yet.
You can also navigate to a dashboard directly, by replacing the current dashboard's name in your browser's navigation bar. E.g. if you want to go to Moobot's dashboard, you'd navigate to «https://moo.bot/moobot».
Seeing what you have access to as an editor
Your assigned permission group and its permissions determines what you have access to as a Moobot editor.
Follow these steps to see what you have access to on a dashboard:
- Open up the
«Permissions»menu from the main menu, then open the«Your permissions»menu from there. - The menu will display all your granted permissions in green checkboxes.
Keep in mind that this menu is only accessible on someone else's dashboard, as you will always have all permissions granted on your own dashboard.
Adjusting what your Twitch mods can access
An editor's permission group determines what they have access to.
A permission group can have multiple editors assigned to it, but an editor can only be in one permission group at a time.
You should always assign a permission group to an editor, otherwise they will only have access to the very basic functionality of the Moobot dashboard.
Creating a permission group
Follow these steps to create a permission group:
- Open up the
«Permissions»menu from the main menu, then open the«Permission groups»menu from there.
- Type the name of your permission group in the
«Group name...»input at the bottom of the menu.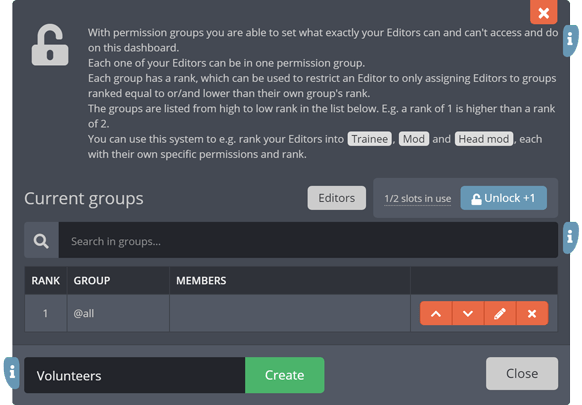
- Click the
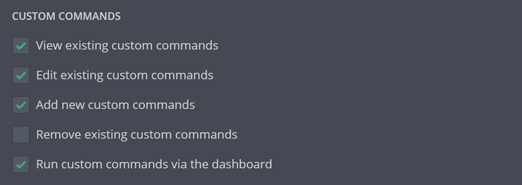
«Create»button once you've chosen and typed in a name for your new permission group. - (⁎) In the next menu, select the permissions you want the group to have.
- Click the
«Save»button at the bottom of the menu.
(⁎) You can activate the «Grant the group all permissions» checkbox to grant all present and future permissions to a permission group. This means that if at any point a new permission should become available, Moobot will automatically give them that permission.

Assigning a permission group to an editor
Follow these steps to assign a permission group to an editor:
- Open up the
«Permissions»menu from the main menu, then open the«Moobot editors»menu from there.
- Find the editor in the
«Current editors»list and then assign a permission group by selecting one from the drop-down in the«Permission group»column.

Using permission groups to rank your editors
You can use an editor's permission group to determine their rank.
Each permission group has a numbered rank, from 1 and up, where rank numbered as #1 is a higher rank than e.g. rank #2.
You can set a permission group to be self-sufficient, only allowing its editors to adjust the permission group of lower-ranked editors, and only either putting them in lower-ranked permission groups, or their own group.
There are two permissions in the «Editors» section of a group's permissions that make this possible:
«Set the permission group of lower ranked channel editors to no group, or a group equal to or lower ranked than own group».«Set the permission group of lower ranked channel editors to no group, or a group lower ranked than own group».
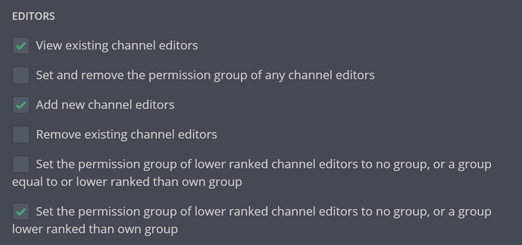
This means you can separate your editors into self-sufficient groups, e.g. «Trainees», «Mods», and «Head mods», where «Mods» only control «Trainees», but «Head mods» control both «Trainees» and «Mods».
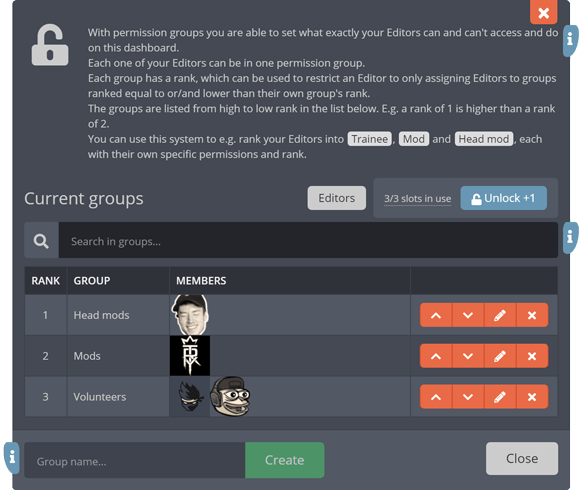
Follow these steps to adjust the rank of a permission group:
- Open up the
«Permissions»menu from the main menu, then open the«Permission groups»menu from there.
- Find the permission group in the
«Current groups»list. - In the permission group's table row, you can adjust its rank by clicking the arrow buttons (labeled
«Rank up»and«Rank down») to the right-hand side of your permission group.