Adjusting your dashboard to fit your needs on Twitch
You can fully adjust your Moobot dashboard to fit your needs. It can work as an addition to your Twitch dashboard, or even fully replace it.
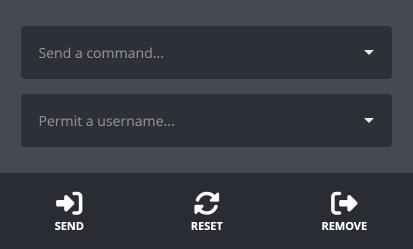
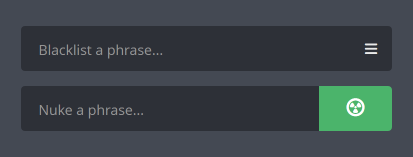
The theme of your dashboard (Light vs. Dark)
Depending on your preference, you can adjust your dashboard's theme.
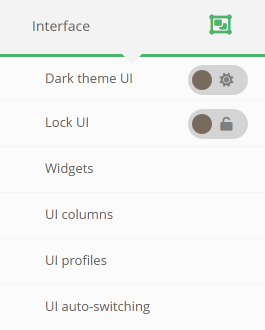
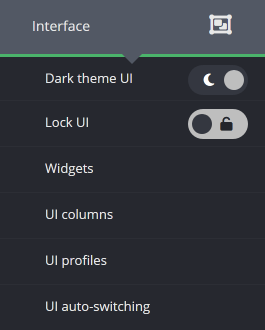
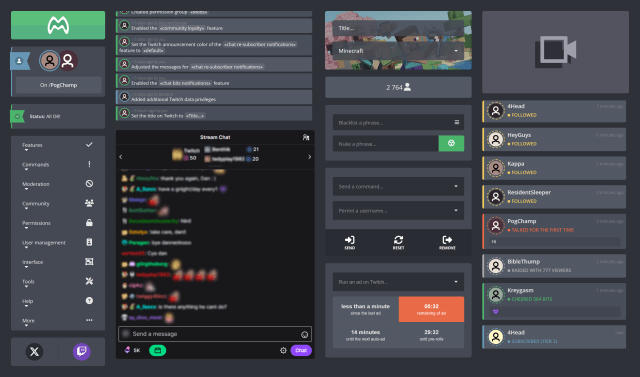
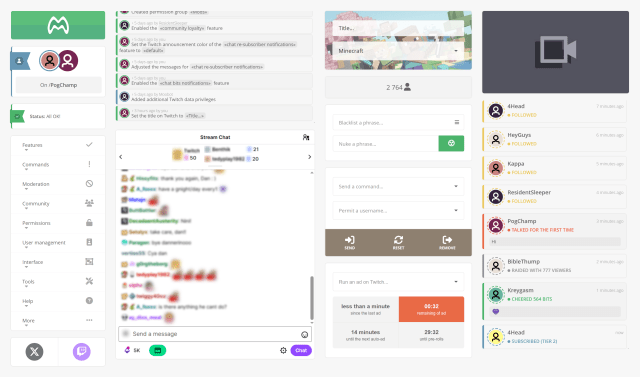
Just open the «Interface» menu from the main menu and then click the «Dark theme UI» button to switch between the Light and Dark themes for your dashboard.
Widgets on your dashboard
The primary screen of your dashboard features several widgets, each restricted to its own box and serving a specific purpose and functionality.
You can adjust which widgets are visible by following these steps:
- Open the
«Interface»menu from the main menu, then open the«Widgets»menu. - While in the
«Widgets»menu, use the toggle button on the right-hand side of a widget to show or hide it.


The controls widget
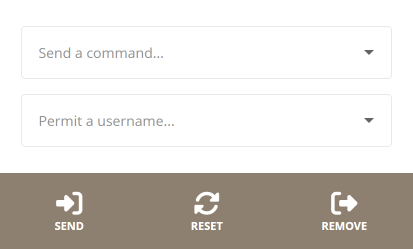
The controls widget lets you and your editors perform certain actions quickly and directly from your dashboard's primary screen:
- Send any of your custom commands to Twitch chat.
- Pre-approve users to bypass auto moderation.
- Send the Twitch bot to your chat.
- Remove the Twitch bot from your chat.
- Reset the Twitch bot if it acts up.
You can make the widget take up less screen space by compacting it. Just hover over it, open the menu with the gear icon, and then activate the «Compact» checkbox.
The moderation controls widget
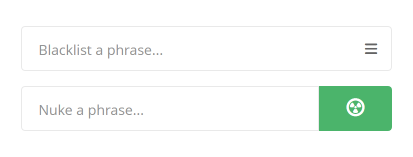
The moderation controls widget lets you and your editors perform certain moderation actions directly from the dashboard:
- Add blocked words, phrases and behavior to your blacklist.
- Instantly remove several similar messages in chat by nuking them.
The status widget
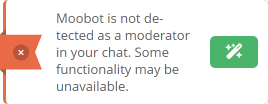
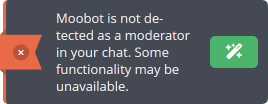
The status widget lets you know in real-time if something is wrong with the dashboard or your Twitch chat bot.
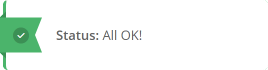
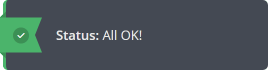
If something is wrong, click the button with the magic wand icon and follow its steps to resolve the issue.
The notification log widget
The notification log widget displays the recent engagements for the Twitch channel and is updated in real-time as new entries come in.
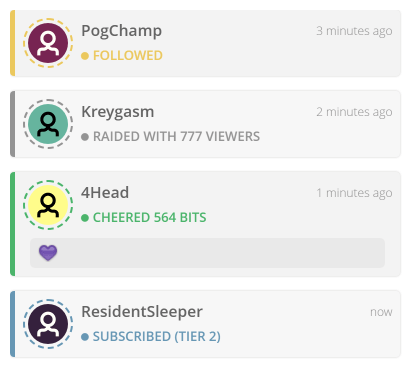
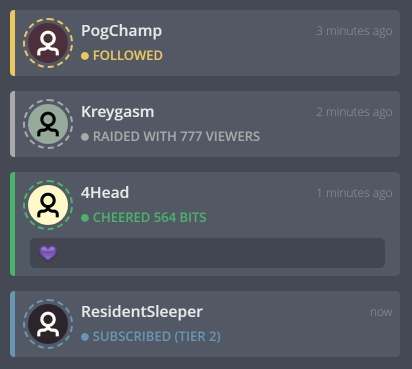
The widget can display these engagements:
- When someone chats for their first time (New chatters)
- New Twitch followers
- New Twitch subs
- Re-subs
- Gifted Twitch subs
- Cheered Bits in Twitch chat
- Raids from other Twitch streamers
Hover over the widget, open the «Display» menu (eye icon), and then activate the checkboxes for any of the engagements you want to display in the widget.
Adjusting the widget's size:
You can adjust the widget's height by hovering over it, opening its «Height» menu, and then dragging its slider to the desired position.
Adjusting the font size of the notifications:
You can adjust the font size of the widget's notifications to fit your needs.
Hover over the widget, open its «Font size» menu, and then drag its slider to the desired position.
Hiding user-thumbnails in notifications:
You can hide any user-thumbnails by hovering over the widget, opening the menu with the gear icon, and then deactivating the «Show thumbnails» checkbox.
Disabling animations for Cheered Bits notifications:
Disable animations for any Cheered Bits notifications by hovering over the widget, opening the menu with the gear icon, and then deactivating the «Show animations» checkbox.
Emptying the widget of seen notifications:
To empty the widget of previous notifications, hover over it, and then click the «Clear» button (trash can icon).
Disabling page scrolling while hovering over the widget:
You can disable page scrolling while hovering over the widget, ensuring your dashboard's position remains unaffected while you scroll inside the widget.
Hover over the widget, open the menu with the gear icon, and then activate the «Freeze scroll» checkbox to enable this behavior.
The event log widget
The event log widget displays a real-time overview of what is happening on the dashboard and with your Moobot.
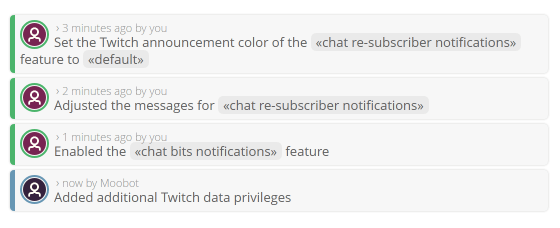
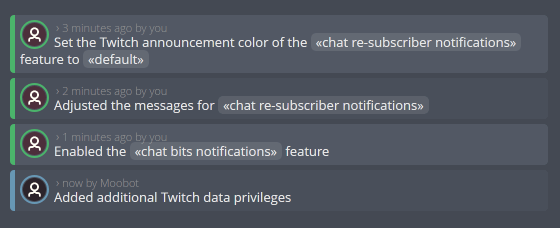
| Event type | Description |
|---|---|
| Changes | Setting change descriptions, including who made the change. |
| Information | Information messages that may or may not require attention. |
| Warnings | Warning messages that most likely require attention. |
| Errors | Error messages that require immediate attention. |
| Removed messages | Any Twitch chat messages that your auto moderation removes. |
Hover over the widget, open the «Display» menu (eye icon), and then activate the checkboxes for any of the events you want to display in the widget.
Adjusting the widget's size:
You can adjust the widget's height by hovering over it, opening its «Height» menu, and then dragging its slider to the desired position.
Emptying the widget of seen events:
To empty the widget of previous events, hover over it, and then click the «Clear» button (trash can icon).
Disabling page scrolling while hovering over the widget:
You can disable page scrolling while hovering over the widget, ensuring your dashboard's position remains unaffected while you scroll inside the widget.
Hover over the widget, open the menu with the gear icon, and then activate the «Freeze scroll» checkbox to enable this behavior.
The Twitch chat widget
The chat widget embeds the channel's Twitch chat directly into the dashboard.
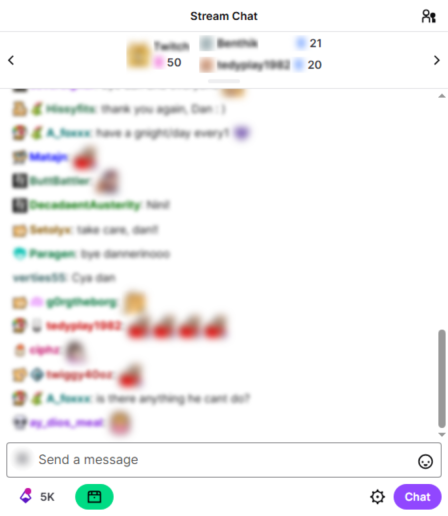
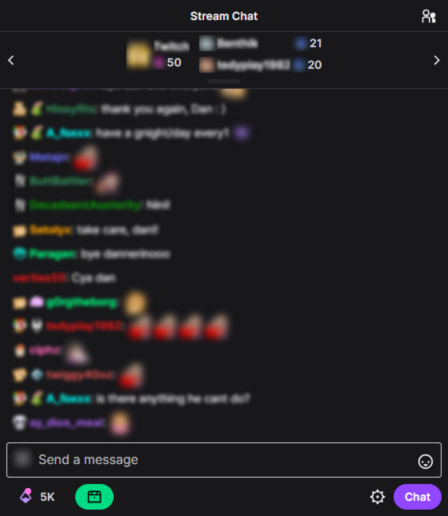
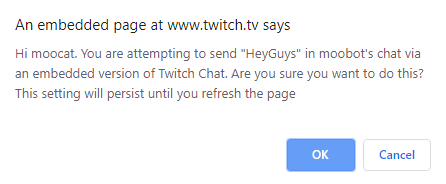
As a security measure taken by Twitch, sending your first chat message through the widget requires you to click the «OK» button in the confirmation dialog that pops up.
Closing and opening Twitch chat:
You can open and close Twitch chat by clicking the «Open chat» and «Close chat» buttons (eye icons) while hovering over the widget.
Keeping the chat closed on page load:
If you want to keep Twitch chat closed when you initially load the page, hover over the widget, open the menu with the gear icon, and then activate the «Closed on load» checkbox.
You can then open Twitch chat manually by hovering over the chat widget and clicking the «Open chat» button (eye icon).
Adjusting the chat's size:
You can adjust the chat's height by hovering over it, opening its «Height» menu, and then dragging its slider to the desired position.
Disabling page scrolling while hovering over the Twitch chat widget:
You can disable page scrolling while hovering over the chat, ensuring your dashboard's position remains unaffected while you scroll up and down Twitch chat.
Hover over the chat widget, open the menu with the gear icon, and then activate the «Freeze scroll» checkbox to enable this behavior.
The stream widget
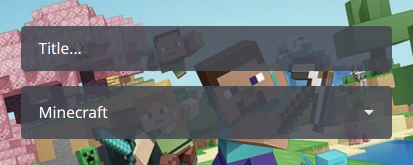
The stream widget lets you and your editors set the channel's Twitch category and title.
The Twitch ads widget
The Twitch ads widget lets you see key information about the channel's ads and manage them directly from your dashboard.
This can help you time your ads better, preventing ads from running at important moments in your stream and keeping pre-rolls from activating.
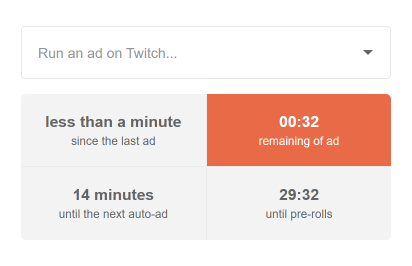
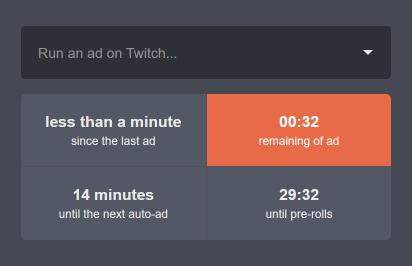
If you have auto-ads enabled, you can also manage them from this widget. This allows you to see when the next ad is scheduled and delay it to a better time if needed.
Moobot can alert you about upcoming ads, when ads start and end, remind you to run ads, and warn you when pre-rolls are about to be activated on the stream. You can access the ad-notifications menu directly from the widget.
The stream stats widget
The stream stats widget shows you up-to-date stats of the channel, such as how many live viewers and followers the channel has.
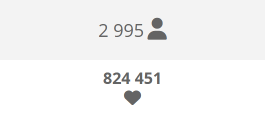
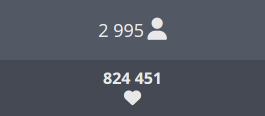
You can make the widget take up less screen space by compacting it. Just hover over it, open the menu with the gear icon, and then activate the «Compact» checkbox.

The stream preview widget
The stream preview widget lets you view the Twitch stream directly in your dashboard.
The widget shows an up-to-date preview of the stream, or you can click the play button while hovering over the widget to watch the stream live.
The song player widget
The song player widget lets you play and control what is playing through the Song Requests feature.
It also allows you to see the currently playing song and the songs played in your session. Simply click the icon at the bottom of the widget to expand the song history list.
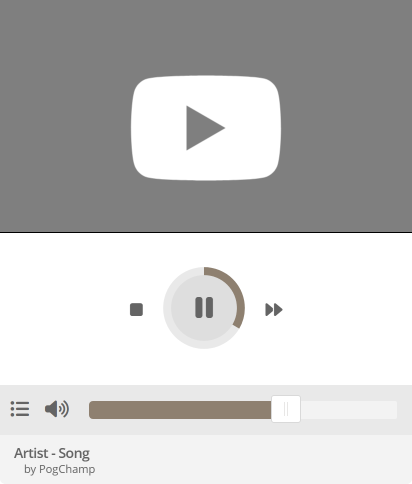
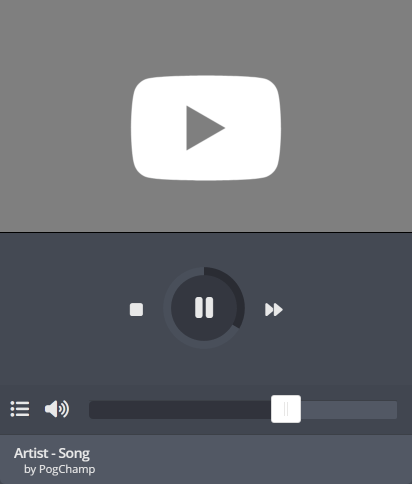
By hovering over a song, you can directly save it to your «Secondary Playlist», blacklist it, replay it, and more.
You can also use the player as a standalone music player without the viewer-request functionality. This lets you take advantage of many other features, such as:
- Using hotkeys to control the player.
- Grouping your songs into collections to quickly include or exclude them depending on your mood.
- Letting your Twitch moderators control what's playing.
- Displaying what song is playing directly on your stream.
- Allowing your viewers to use your public music page to see both what is currently playing and what has been recently played.
To use the song player as a standalone player, disable requests and add songs only to your Secondary Playlist, which acts as a personal playlist.
You can also set up Moobot Assistant to control the player with keyboard hotkeys. This way, you don't have to switch out of your game when you want to skip a song or change the player's volume.
The user widget
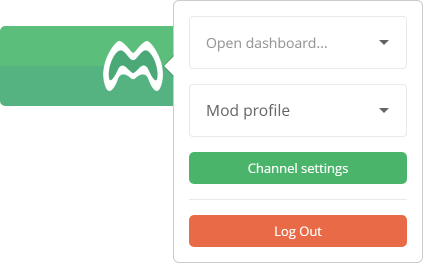
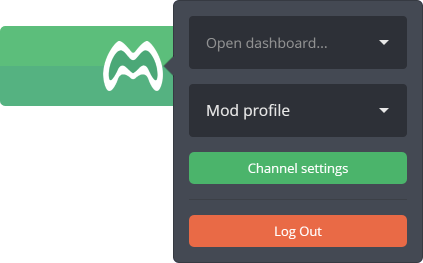
You can use the user widget to open a dashboard you're a Moobot editor or Twitch moderator on, switch between UI profiles, open the channel's general settings, or log out of the Moobot dashboard.
Hover over the widget to access its menu.
Adjusting your channel settings
The user widget can be used to access your channel's general settings.
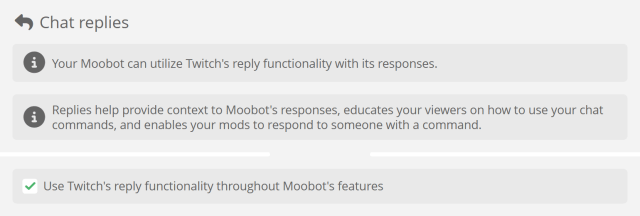
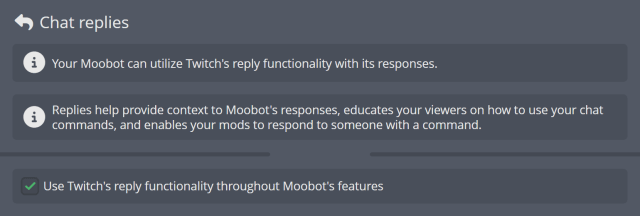
Moobot integrates with Twitch's chat reply functionality, which helps add context to Moobot's messages in your chat. This functionality can be toggled on or off from the channel settings menu in the «Chat replies» section.
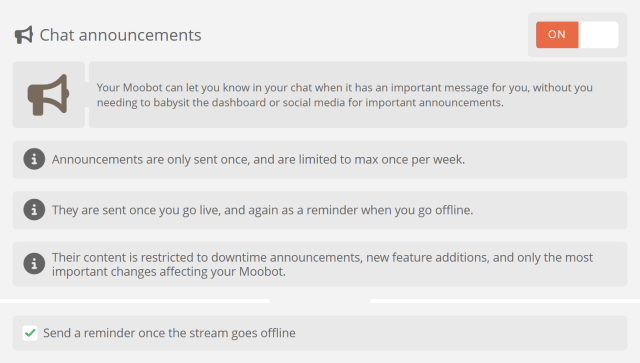
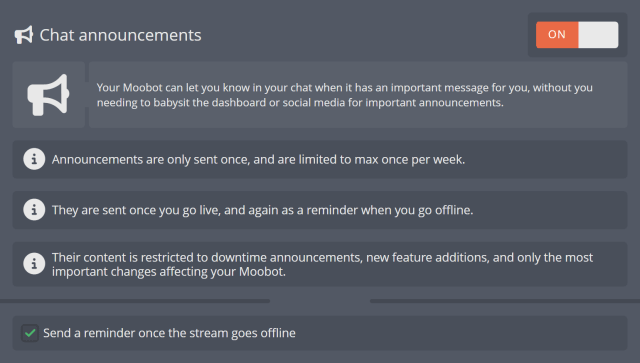
Your Moobot can also notify you in your chat if it has an important message for you. This is useful if you do not use the dashboard on a daily basis, as it can alert you to any important changes or issues with your Moobot.
In the past, this has been used to notify streamers about crucial changes to Twitch's API, which could have caused Moobot to stop working if the streamer did not take action.
Announcements are sent out no more than once per week. They are limited to downtime alerts, major new feature announcements, and critical updates that could affect your Moobot's functionality.
You can toggle off this functionality from the channel settings menu in the «Chat announcements» section.
The dashboard widget
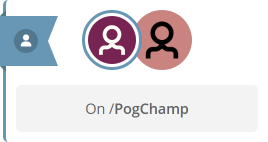
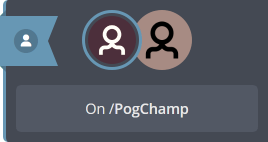
The dashboard widget displays which dashboard you're on (as an editor), and who you are logged in as.
The dashboard will only show the widget when you are on a dashboard other than your own, unless you've activated the «Always show» checkbox in the widget's menu.
You can also display the full name of the dashboard by activating the «Display name» checkbox in the widget's menu.
The updates widget
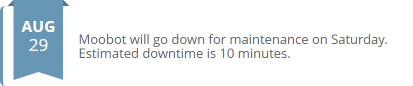
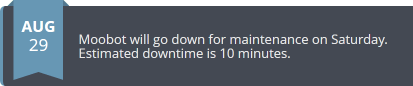
The updates widget displays up-to-date information about your Moobot and Twitch and refreshes automatically while you're on the dashboard.
You can make the widget take up less screen space by compacting it. Just hover over it, open the menu with the gear icon, and then activate the «Compact» checkbox.
The social widget
The social widget has all the Moobot social links.
The user poll widget
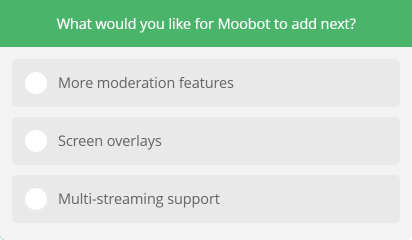
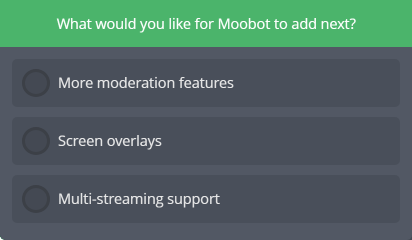
The user poll widget lets you give direct feedback to the devs, which helps tremendously in making Moobot better for you.
The dashboard will automatically hide the widget once you've given your feedback.
Adjusting how your dashboard is set up
You can move around your widgets on your dashboard as long as you have deactivated the «Lock UI» option in the «Interface» main menu.
Just drag-and-drop the widget to where you want to place it. (Some widgets require you to drag the widget from the «Drag» button in their menu.)
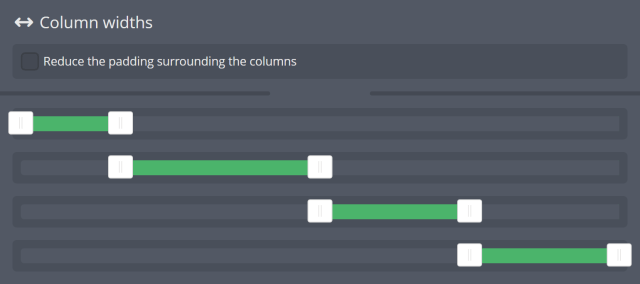
Your dashboard is divided into three rows, each containing columns where you can place your widgets. The middle row has several columns, each with an adjustable width.
You can adjust these columns by following these steps:
- Open the
«Interface»menu from the main menu, then open the«UI columns»menu. - While in the
«UI columns»menu you can adjust the width of a column by dragging its slider to your desired size.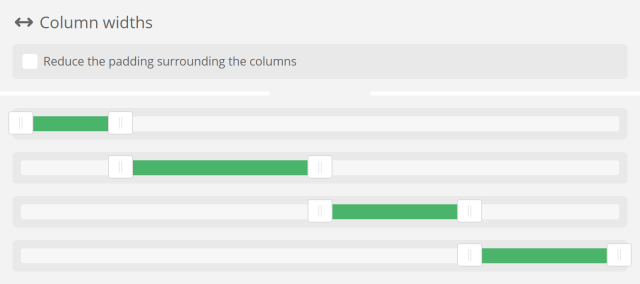
- You can add or remove columns by clicking the
«Add»or«Remove»buttons at the bottom of the menu.

- Save your changes by clicking the
«Save»button at the bottom of the menu.
You can also compact your dashboard by activating the «Reduce the padding surrounding the columns» checkbox in the «UI columns» menu.
Switching between dashboard set-ups
A «UI profile» contains the set-up of your dashboard.
By switching between UI profiles you can easily switch between different dashboard set-ups, allowing you to have different setups for different tasks.
For example, you can have a UI profile for heavy moderation tasks and another for when you're streaming. Or a reduced dashboard for when you're on mobile, and a large dashboard while full-screened on your desktop.
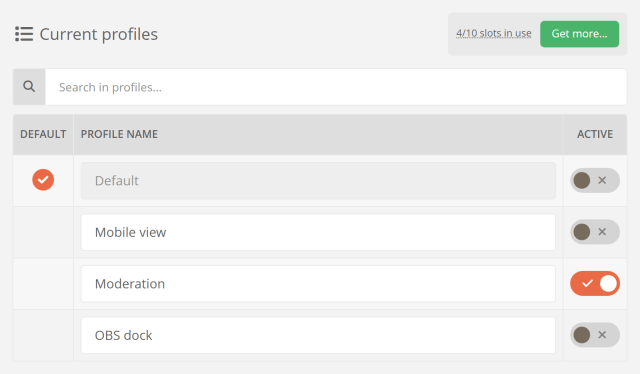
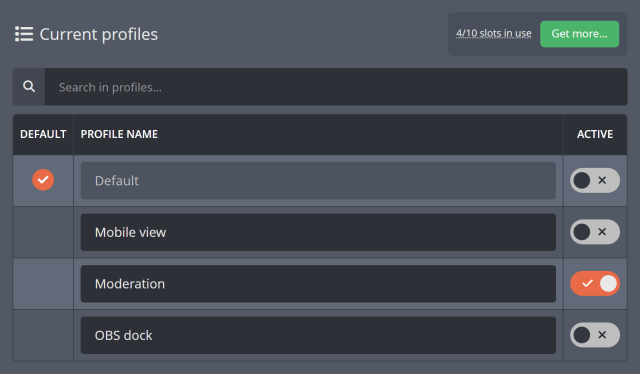
Follow these steps to create a UI profile:
- Open the
«Interface»menu from the main menu, then open the«UI profiles»menu. - Type the name of your profile in the
«Profile name»input at the bottom of the menu.

- Click the
«Add»button once you've chosen and typed in a name for your profile. - Find your new profile in the
«Current profiles»table and activate its«Active»toggle button to make it your active profile. - Click the
«Save»button at the bottom of the menu to save your changes.
Any adjustments made to the dashboard's interface will only affect your active profile.
Each dashboard you're an editor of has its own active profile, with the initial active profile being your default (first) profile, named «Default».
Automatically switching between dashboard setups
Moobot can automatically switch between profiles for you when you resize your dashboard's window.
For example, this allows you to have a more compact view that takes up less screen space when you resize your dashboard to a smaller window. Once you maximize the window, your dashboard is automatically restored to its full layout.
By automatically switching between profiles, you can optimize the view of your dashboard to only show what you need when you need it.
Follow these steps to set up automatic profile switching:
- Open the
«Interface»menu from the main menu, then open the«UI auto-switching»menu. - Select the profiles to switch to for the various screen sizes in the
«Auto-switches»table.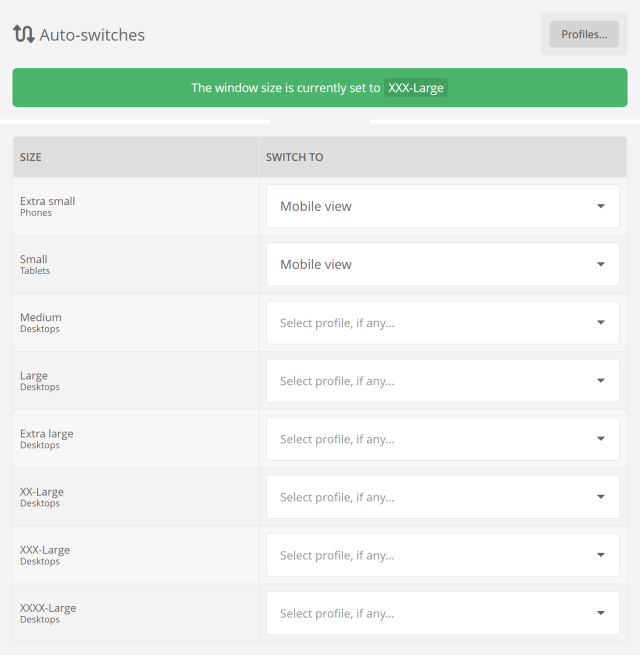
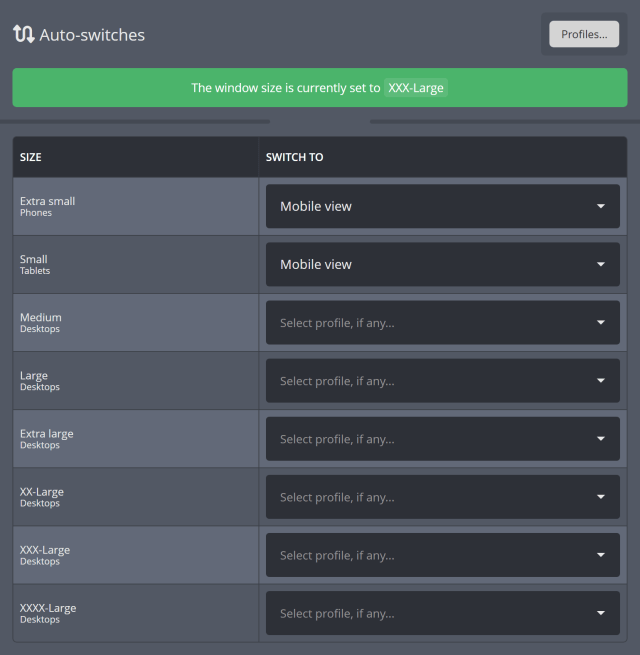
- Click the
«Save»button at the bottom of the menu to save your changes.
Putting your dashboard directly into your OBS
You can put your dashboard directly into your OBS (Open Broadcaster Software) by adding it as a custom browser dock.
This lets you dock your dashboard inside the OBS window and have it start up alongside OBS when you start your stream.
Docking your dashboard into OBS is very simple, just follow these steps:
- Open OBS, and from the
«View»menu choose«Docks», and then«Custom Browser Docks...».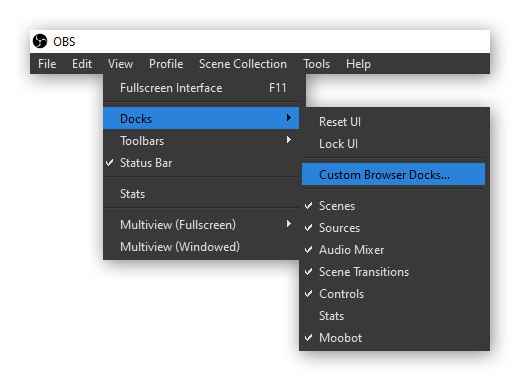
- Add a new dock named e.g. 'Moobot' in the
«Custom Browser Docks»window and set its URL to«https://moo.bot/username»with«username»being the dashboard's channel name (your Twitch username).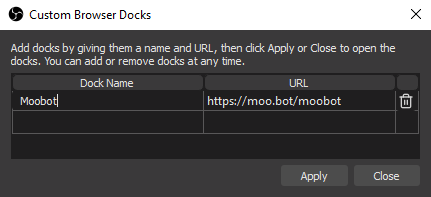
- Hit the
«Apply»button to add the dock. - Once the dashboard's window pops up, click and hold its top bar, and then drag it inside your OBS window to dock it.
- Log in to your Moobot dashboard as normal.
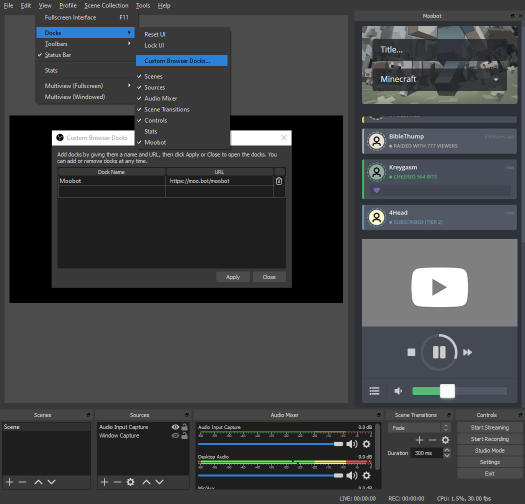
When you've successfully docked the dashboard, you can make your life easier by adjusting it to fit your OBS view and workflow:
- Create and use a separate UI profile for just your OBS. That way you can have a different dashboard set-up in OBS vs. in your browser.
- Hide the widgets you won't need inside OBS.
- Set up the columns of your dashboard to fit the smaller dashboard window.
- Reorganize the widgets by drag-and-dropping them to where they best fit your OBS window.